
How to insert table in outlook email?
October 30, 2022

In our regular email communication, we often need to add tables in an email. Many of us do not know how to insert table in Outlook. Yes, Microsoft Outlook has a fantastic feature to insert tables and it is very easy to create, edit, or modify tables in Outlook. In this article, I will talk all about tables in MS Outlook email messages.
Learn More: How to select multiple emails in Outlook?
Those who want to watch in the video please watch in the video below:
Where is the insert tab in outlook mail?
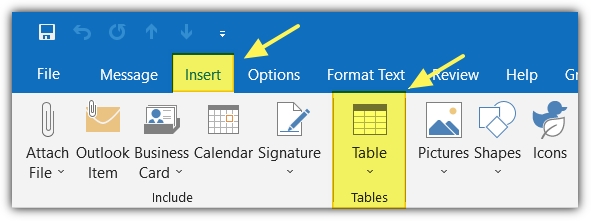
If you wonder where is the insert tab in outlook mail, check the ribbon. You will find the Table button in the Tables group in the Insert tab.
How to insert a table in outlook email?
There are several ways to insert tables in Outlook email messages. even you can save the table template in the quick table gallery.
Learn More: Embed pdf in outlook email body
Insert a table with a single click
You can insert tables in MS Outlook from the Insert tab in the ribbon. Please follow the instructions below.

- Launch Microsoft Outlook.
- Go to the Home tab, and select New Email from the New group to start a new email message.
- Go to the Insert tab, and select Table from the group Tables.
- Select the number of columns and rows by dragging your mouse over the boxes shown.

- Click to confirm the number of rows and columns. You will see the table is automatically drawn on the body of the email.
- I have selected four rows and four rows to insert a 4×4 table in the email body.

From the Insert table menu
- Go to the Insert tab and select Table from Tables groups.
- Select Insert Table from the menu.

- From the Insert Table dialog box, you can set the number of rows and columns. There are options to set the width of the column here.

- Click OK to insert the table in the email body.
From Draw Table Menu
You can also draw a table from the Draw Table as per your requirement. To do so, follow the below instruction.
- Go to the Insert tab and select Table from Tables groups.
- Select Draw Table from the menu.

Your mouse pointer will convert into a drawing pencil. You can draw the table with the help of the pencil as you need.

Convert Text to Table
You can convert your text into a table from this option. Follow the instructions below to convert your text to a table.
- Select your text.
- Go to the Insert tab, and select Convert Text to Table.

- Fill in the Number of columns and click OK.

- Check your email body. Your text is now converted to a table.

- You can edit or modify if any modification is needed.
From Excel Spreadsheet
- Go to the Insert tab and select Table from Tables groups.
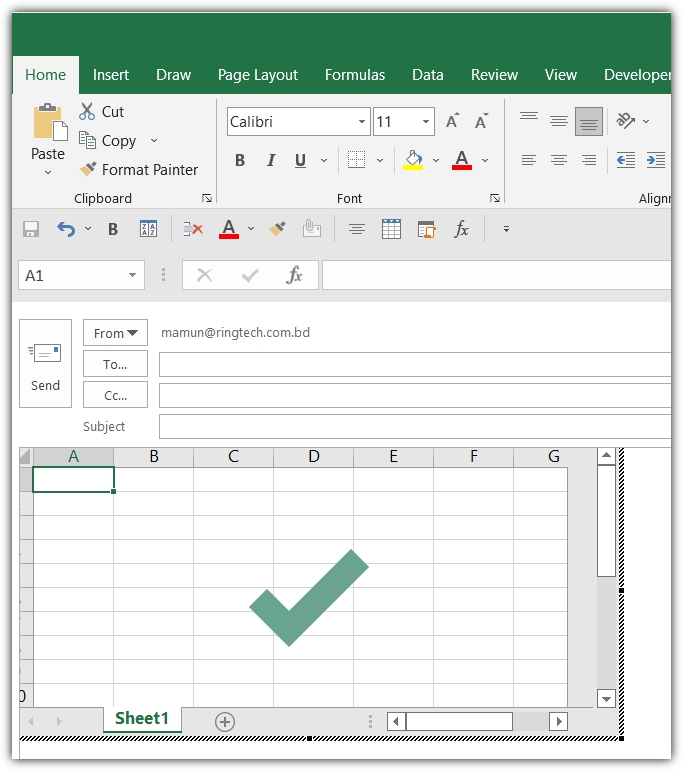
- Select Excel Spreadsheet from the menu.

- An embedded MS Excel worksheet will be inserted in the Outlook email body.
From the Quick Table Menu
If you save any template of the table in the gallery, you can choose from there. Are you wondering how to save a table in the gallery?
How to save a table in the gallery
- When you insert a table in the body of an email, select it with the help of your mouse.
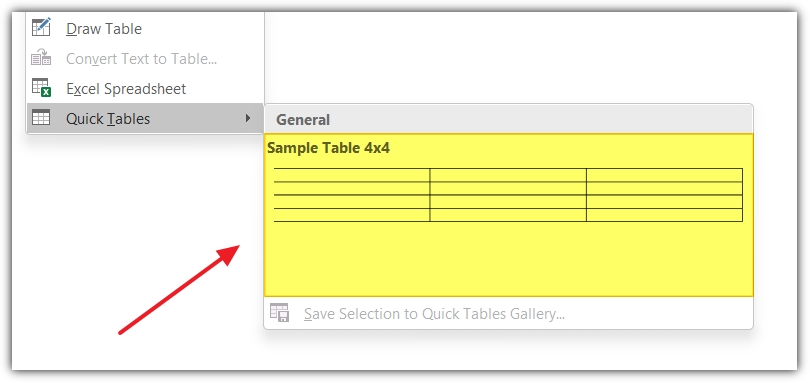
- Go to Insert> Table> Quick Tables, and select Save selection to quick table Gallery.

Give the name of your table, set a description, and click OK to save it.

Insert Table from Quick Table Gallery
- Go to Insert> Table> Quick Tables, and select your saved table from the menu.
- The saved table will be inserted in the body of your email body.
An alternative way to insert a table in Outlook email
There are two different ways to insert a table in Outlook email. If you have any existing table in MS Word or MS Excel you can just copy and paste it into MS Outlook. The process is very simple.
- Open MS Excel or MS Word files from where you want to copy the table.
- Select your existing table.
- Right-click over the table and select Copy. Or press Ctrl + C on your keyboard.
- Go to the Outlook Email where you insert a table and paste it over there.
- To paste the table select Paste or press Ctrl + V on your keyboard.
Table Design and Layout Tab
When you insert a table in an Outlook email body two new tabs will be added to the ribbon automatically. Normally, you will not see these two tabs in the ribbon. Whenever you select the table or work on the table these two tabs will appear. They are called Table Tools.

You can edit and modify your tables using these tools.
Why do you need to insert a table in an Outlook email
Email communication is used to send quick information to the recipient. If you write only plain text maybe it is ok but inserting a table can be a powerful tool to make your email more informative and attractive to the reader.
A table can help you to organize data in an attractive manner and allow the recipient to pick the information easily. It is also helpful to the email writer to organize data in an email body.
A user can also insert a table in an outlook email reply in the same manner.
Dear learner, hope this content on how to insert table in outlook email is helpful to you. Please post a comment if you have any more queries. Thanks a lot
Author Bio


0 Comments